

introduce: The portable pneumatic marker is a versatile tool for making permanent, high-quality marks on a variety of surfaces. This article aims to provide a comprehensive guide on how to effectively use a portable pneumatic marking machine.
Safety Instructions: Before operating a portable pneumatic marking machine, please consider safety first. Wear appropriate personal protective equipment (PPE), such as safety glasses, gloves, and ear protection, to prevent any potential hazards. Make sure the work area is well ventilated and free of any obstructions that might prevent operation. Familiarize yourself with your machine’s owner’s manual and safety guidelines to prevent accidents.
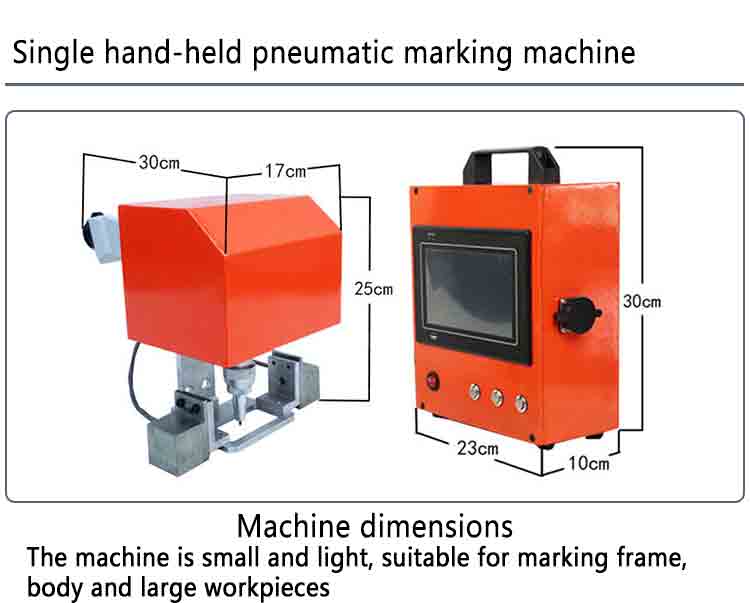
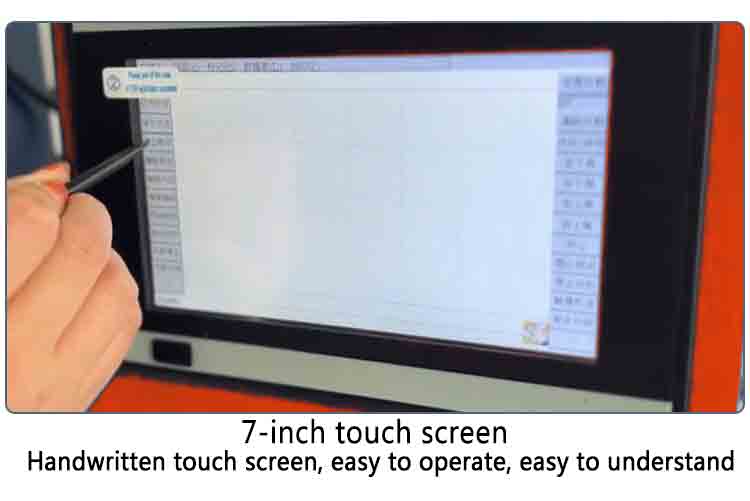
Machine settings: First select the appropriate marking head and insert it firmly into the marking machine. Make sure all connections are properly tightened and leak free. Connect the machine to a compressed air source, making sure the pressure gauge reflects the recommended operating range. Adjust the pressure setting according to the material and depth to be marked. Familiarize yourself with the machine’s control panel and make sure all settings are configured correctly.
Surface treatment: Prepare the surface by thoroughly cleaning it to remove any dirt, dust or grease that may interfere with the marking process. Make sure the surface is dry and free of any contamination. If necessary, use jigs or fixtures to securely position the material to prevent movement during the marking process. Check the marked area to make sure it fits the mark and is clear of any obstructions.
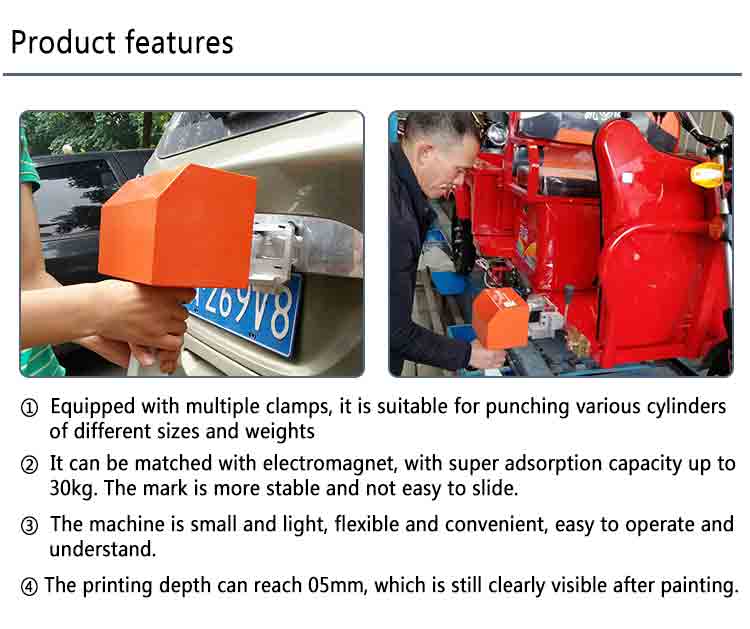
Marking technology: Hold the portable pneumatic marker firmly and place the marking head over the desired marking area. Align the marking head parallel to the surface, making sure it is at the optimum distance for correct marking. Press the start button or control pedal to start the machine. Let the machine engrave or mark the surface, moving at just the right speed for consistent and precise marks.
Monitor and adjust: Monitor the marking process as you work to ensure accurate and legible marks. Note the depth and intensity of the marks, adjusting as needed. If the mark is too shallow, increase the pressure, or adjust the marking head position. Conversely, if the marks are too dark or intense, reduce the pressure or make any necessary adjustments to the settings.
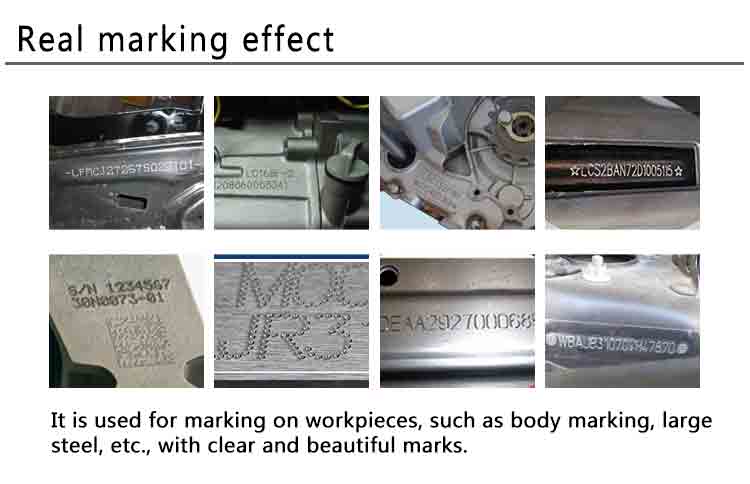
Post labeling steps: After the marking process is complete, inspect the marked surface for any defects or inconsistencies. If necessary, remark the area or make necessary touch-ups to achieve the desired result. Clean the marking head and the machine itself to ensure all residues are properly removed. Store the portable pneumatic marker in a safe, dry location and disconnect it from the compressed air source.
in conclusion: By following these guidelines, you can effectively use a portable pneumatic marker to accurately and permanently mark a variety of surfaces. Prioritize safety, understand machine settings, and properly prepare surfaces. Use consistent and controlled labeling techniques while monitoring and adjusting as needed. With practice and experience, you can achieve high quality and professional marking. Always refer to the manufacturer’s instructions for specific guidance on operating your portable pneumatic marker.
Post time: Aug-28-2023


